

AI Magic - Stable Diffusion
AI Magic - Stable Diffusion
A new era in open source AI - public release of StableDiffusion image generator

The Moment
And just like that….

… the Stability AI team led by founder Emad Mostaque delivered the most capable text to image generator ever released to the general public, in history.

PROMPT: ‘An artificial intelligence is released to the public, photorealistic, unreal engine, volumetric light’
So what’s all the hype about? Well, it all started in a ‘small fishing village deep in the Amazon forest’ …


PROMPT: ‘small fishing village deep in the Amazon forest, photorealistic, octane render, unreal engine, hyper detailed, volumetric lighting’; images generated using StableDiffusion v1.4 model, Dell Alienware Aurora w/ NVIDIA 3090 GPU)
These Images were generated by StableDiffusion model…. in 30 seconds total on my personal computer ! (BTW, there was no Amazon forest village part of the story, I just needed a good prompt).
Even the recently departed Tesla AI chief had high praise.


Here’s a little bit about The Man and The Model.
The Man
Emad Mostaque is the founder of Stability AI, self described ‘good career as a hedge fund manager’ led to personal wealth that he used to initially fund the Stability AI operation, eventually partnering with key institutions including EleutherAI, LAION and others… seeking better methods to democratize AI usage and large AI model development for academics, researchers, governments and the general public.
The following video interview by Yannic Kilcher provides great insight into Emad’s motives, perspective and approach to enabling an AI community that is much more inclusive and broadly accessible to all.
The Model
Stable Diffusion is an uber efficient, ultra capable AI model rivaling (and surpassing) DALLE-2 quality with fast rendering speeds and low barrier of entry for usage.
Easy Access - DreamStudio Portal
Anyone can get quick access (for a nominal fee) to the StableDiffusion model via the following DreamStudio website, they provide the first set of generations for free and credits can be purchased for batches of additional image generations.

Model Repository and Download
GIT MODEL CARD MODEL WEIGHTS (v1.4)
If you’re feeling more adventurous, you can download the model yourself. The model and code can be downloaded at https://github.com/CompVis/stable-diffusion.
You will need to download the StableDiffusion v1.4 model weights from the StableDiffusion huggingface repository (a huggingface account is required to access the repository) and you are then required to accept the very permissive license to get access to the weights.
Once you download the weights you can follow the directions at https://github.com/CompVis/stable-diffusion to get a local environment going.
Local Environment Setup
Here’s my summary setting up a local environment to run StableDiffusion.
hardware: Alienware Aurora Ryzen Edition (64GB ram) and NVIDIA 3090 (24GB)
environment: I’m using Windows with WSL2 (Windows Subsystem for Linux) with Ubuntu distribution. I have Anaconda, GIT, NVIDIA CUDA and other typical dependencies installed.
model weights - Make sure you download the model weights from CompVis huggingface model repository, I specifically downloaded the v1.4 weights.
in WSL2 terminal, I created a directory for my new project and ran the following commands….
# clone the stable-diffusion git repo
git clone -v https://github.com/CompVis/stable-diffusion

# create a conda environment using environment file and activate
conda env create -f stable-diffusion/environment.yaml
conda activate ldm

# create directory to place downloaded weights (checkpoint)
mkdir -p stable-diffusion/models/ldm/stable-diffusion-v1/

# copy over model checkpoint to new folder with filename 'model.ckpt'
cp <checkpoint download filepath> stable-diffusion/models/ldm/stable-diffusion-v1/model.ckpt
run image generator - Once you have the checkpoint in the appropriate location, you can now run the python script in the /scripts folder to generate an image.
# change directory
cd stable-diffusion

# run the image generation script -- and VOILA !  AI MAGIC
python scripts/txt2img.py
  --seed=234
  --ddim_steps=30   #number of steps to generate image
  --H=512           #image height (pixels)
  --W=512           #image width(pixels)
  --n_samples=3     #number of samples (image batches)
  --scale=10.0      #guidance scale factor
  --prompt "space ships photorealistic, octane render, unreal engine, hyper detailed, volumetric lighting"
--plms #sampling algorithm to useGeneration time was less than 10 seconds.


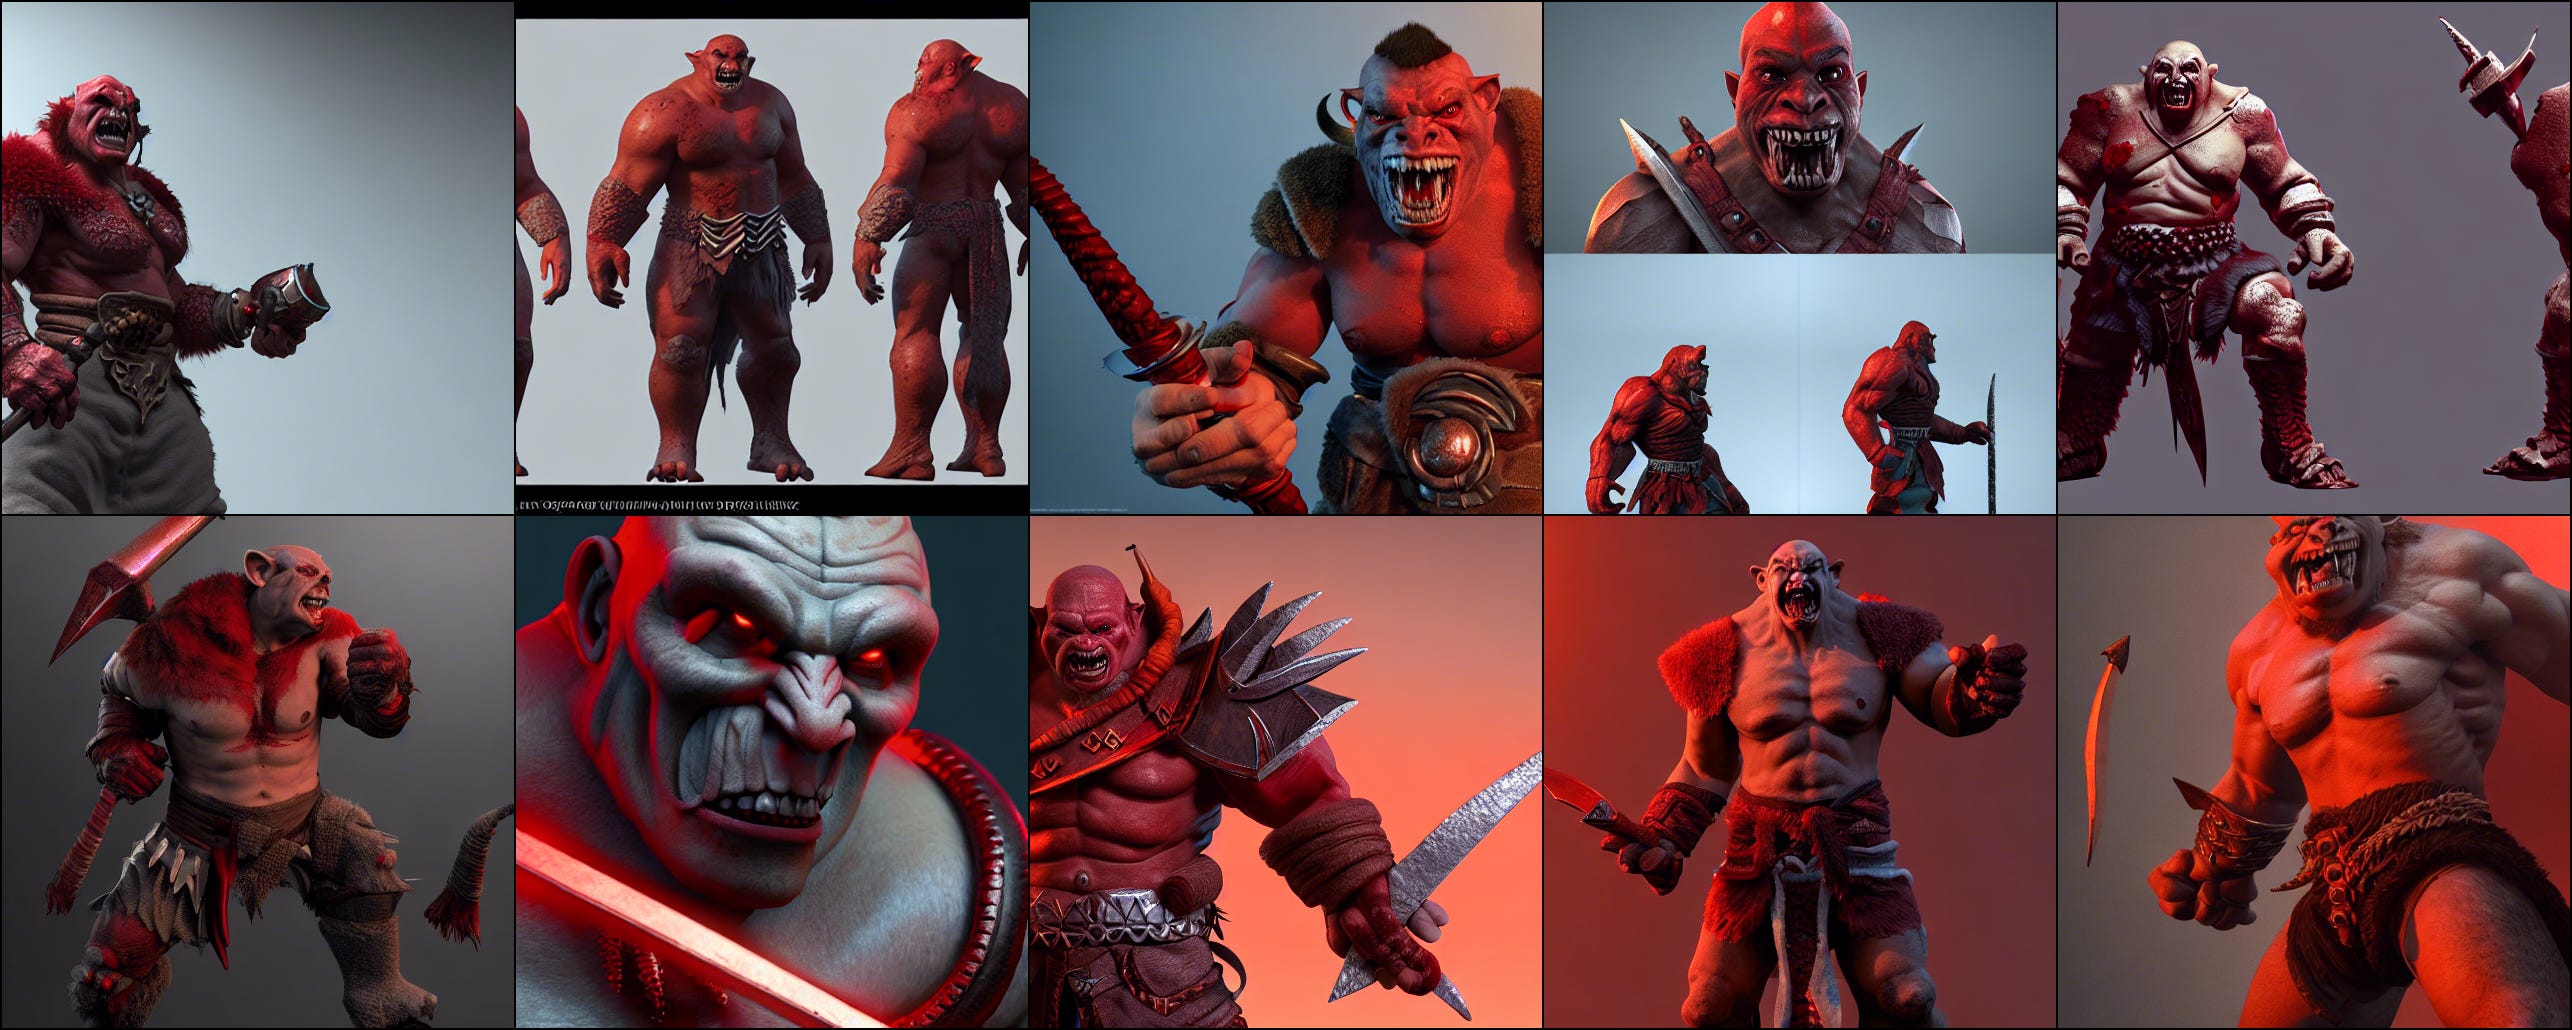
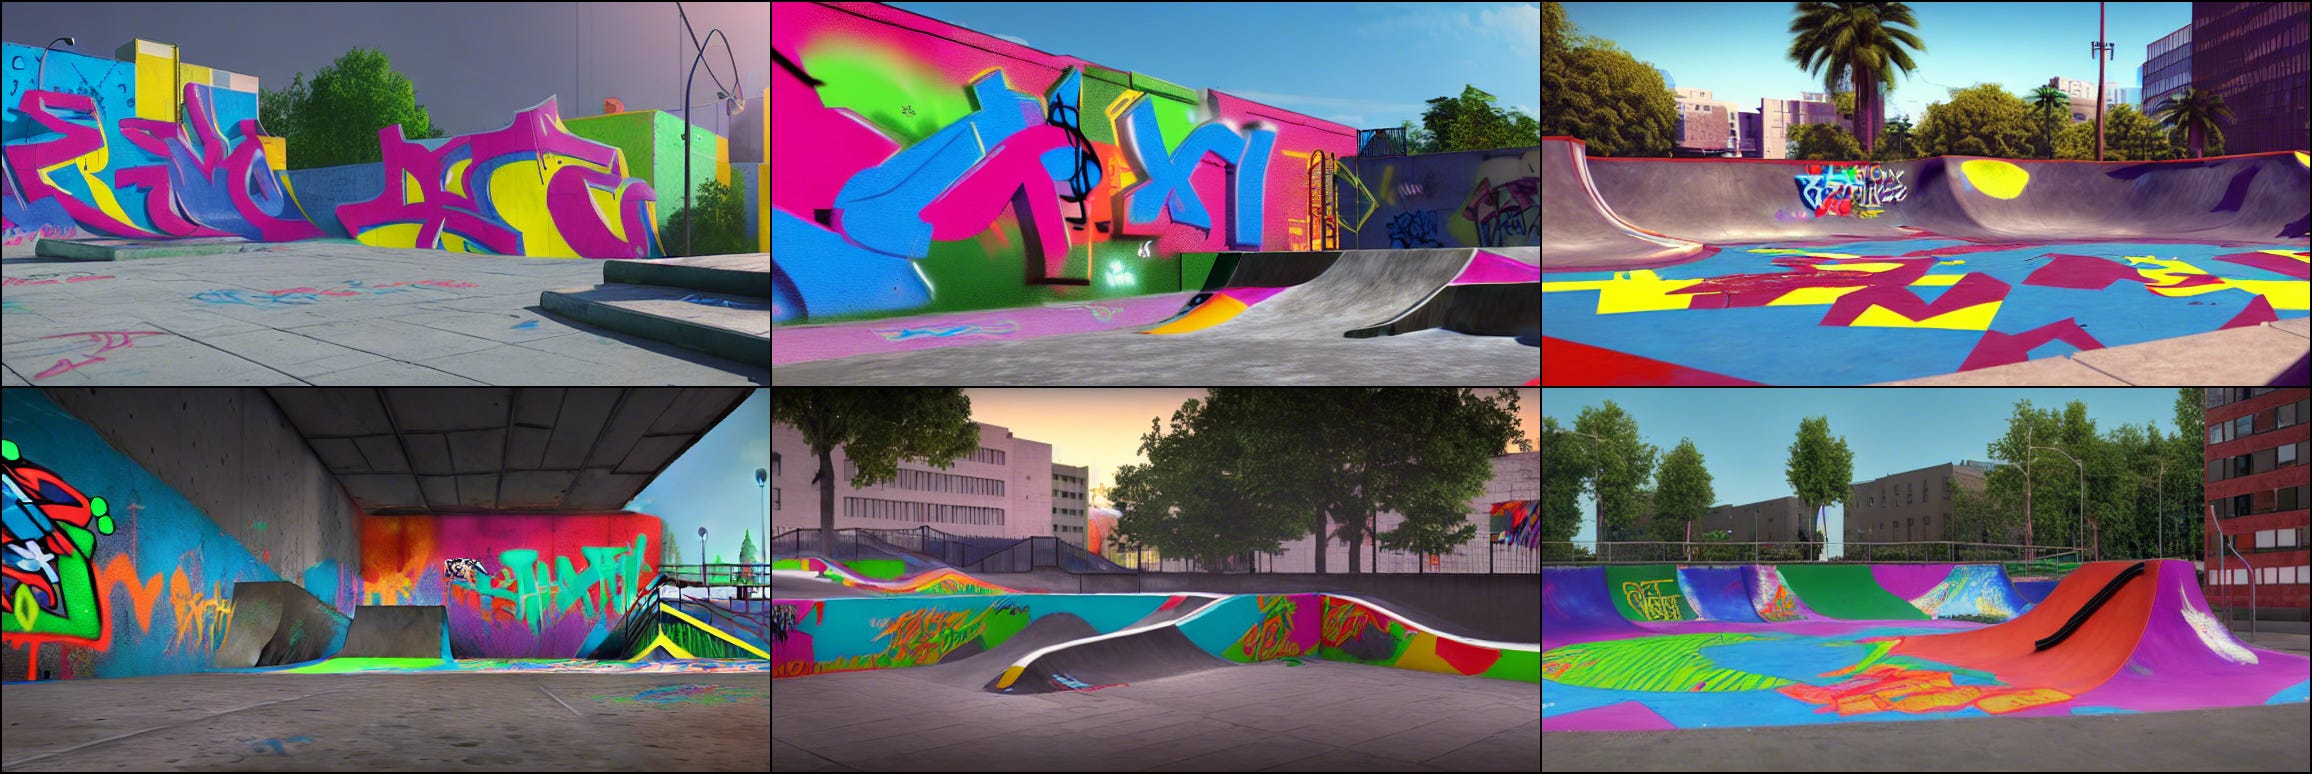
Image Gallery
Character Studies


Other Collages

I’ll update this post with images and references, once I play around some more and learn how to prompt this particular model for the best pics.